
OSPF Advanced Concepts - Part 4
Sep 24, 2019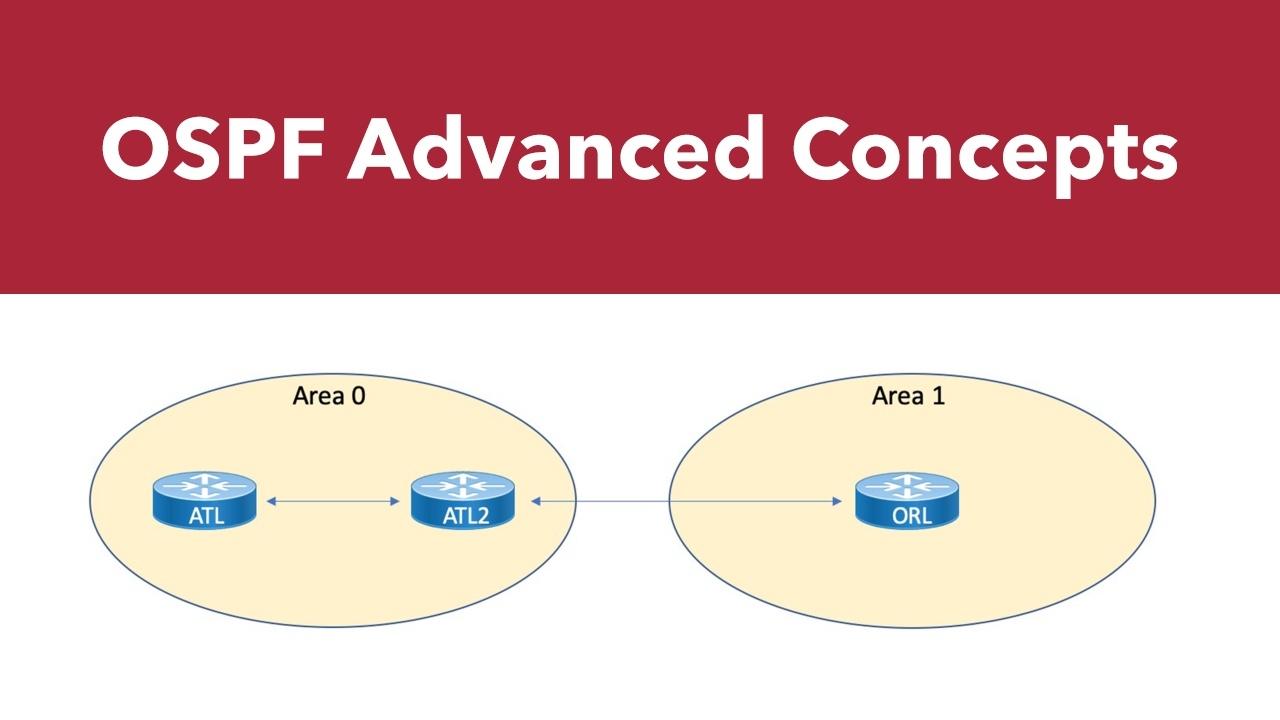
In the previous part of our OSPF series, we examined options for manually filtering routes. As we wrap up our look at advanced OSPF topics, we'll discuss default routes, and compare OSPFv2 with OSPFv3.
Default Routes
We have seen where OSPF can automatically generate a default route when needed. This occurs with some of our special area types. For example, of you configure a totally stubby area, of course a default route is required and OSPF generates this route automatically from the ABR.
In order to increase flexibility with your designs, default routes injected into a normal area can be originated by any OSPF router. To generate a default route, you use the default-information originate command.
This command presents two options:
- You can advertise 0.0.0.0 into the OSPF domain, provided the advertising router already has a default route.
- You can advertise 0.0.0.0 regardless of whether the advertising router already has a default route. This second method is accomplished by adding the keyword always to the default-information originate

Figure 1 - OSPF Topology
Using our simple topology from Figure 1 once again, let's configure ATL2 to inject a default route into the normal, non-backbone Area 1.

Note that in this example, we use the always keyword in order to make sure that ATL2 generates the default route regardless of whether the device already has a default route present in its routing table.
Here is the verification on ORL:

Comparing OSPFv2 and OSPFv3
As amazing as OSPFv2 is, it cannot route IPv6 prefixes for us. This is the job of OSPFv3. The great news for you is the fact that you can leverage almost everything you have learned about OSPFv2 when transitioning to the OSPFv3 protocol. There was not a complete redesign of the protocol, and as much functionality and configuration steps were maintained as possible.
As you will learn in this section, OSPFv3 offers the use of address families in the configuration, making this protocol suited for carrying IPv6 prefixes, or even IPv4 prefixes with the appropriate address family.
For the sake of completion, this section demonstrates the “standard” configuration of OSPFv3, as well as the address family configuration.
It is fun, and important, to distinguish the key similarities and differences between v2 and v3 of the OSPF protocols. Here are the similarities that jump off the page:
- In OSPFv3, a routing process does not need to be explicitly created. Enabling OSPFv3 on an interface will cause a routing process and its associated configuration to be created.
- The router ID is still a 32-bit value in OSPFv3 and the process of router ID selection is the same. OSPF automatically prefers a loopback interface over any other kind, and it chooses the highest IP address among all loopback interfaces. If no loopback interfaces are present, the highest IP address in the device is chosen.
Here are some key differences:
- In OSPFv3, each interface must be enabled using commands in interface configuration mode. This feature is different from OSPF version 2, in which interfaces are indirectly enabled using the device configuration mode.
- When using a nonbroadcast multiaccess interface in OSPFv3, you must manually configure the device with the list of neighbors. Neighboring devices are identified by their device ID.
- In IPv6, you can configure many address prefixes on an interface. In OSPFv3, all address prefixes on an interface are included by default. You cannot select some address prefixes to be imported into OSPFv3; either all address prefixes on an interface are imported, or no address prefixes on an interface are imported.
- Unlike OSPF version 2, multiple instances of OSPFv3 can be run on a link.
Traditional OSPFv3 Configuration
In order to demonstrate (and practice) the OSPFv3 configuration, lets drop such a topology in right alongside the existing IPv4 topology that we have.
Here is the configuration of our backbone area (Area 0) and non-backbone area (Area 1) using the “traditional” OSPFv3 approach.

Note how familiar this configuration approach seems, especially if you are a fan of the interface-level approach to configuring OSPFv2. Notice also, we must globally enable the IPv6 unicast routing capability on the device. This is not a default behavior. You should also note that this is not required in order to run IPv6 on interfaces, it is simply a requirement to do routing of IPv6 traffic on the router.
Here is the configuration of our two other devices:


It is now time for some verification. Note that I will perform all of these on the ORL device for brevity. Notice once again all the wonderful similarities to OSPFv2:


OSPFv3 Address Family Configuration
Let us conclude this chapter with a look at the address family configuration style of OPSFv3. Remember, this capability would permit us to use this single protocol for carrying both IPv4 and IPv6 prefixes.
Here is an example of the OSPFv3 address family configuration approach:

Notice that if you are already familiar with address families from another protocol (such as BGP), this is a very simple configuration. Also note that your approach to configuring OSPFv3 under interfaces does not change.
That wraps up our look at some advanced OSPF concepts. Until next time, take good care.
